Silicone Moulds for UV Printers: build alignment jigs for the eufyMake E1, xTool O1 Omni or any flatbed - free, no CAD.
Lining objects up on a UV flatbed is fiddly, and one-off jigs pile up fast. Our free Silicone Moulds for UV Printers tool builds a whole-bed peg mat and plug-in fixtures for the eufyMake E1, xTool O1 Omni or any printer - no CAD needed.
Desktop UV printing has gone from niche to normal in about a year. The eufyMake E1 put a flatbed on a lot of kitchen tables, and xTool's O1 Omni is now taking UK pre-orders from £1,399 inc VAT for the single-UV edition on the early-bird deal (about $1,699 in the US). Both print straight onto real objects - phone cases, pens, coasters, slate. The catch is the same one every flatbed owner hits: getting the object in exactly the right spot, flat, every single time.
That is what jigs are for. A jig is a printed cradle that holds the object still and level so the artwork lands where you designed it, print after print. The trouble is that a jig is usually a one-off: a bespoke STL per object, per bed, drawn in CAD you may not own or want to learn. So we built a free tool that does the drawing for you.
A peg mat, not a pile of one-off jigs
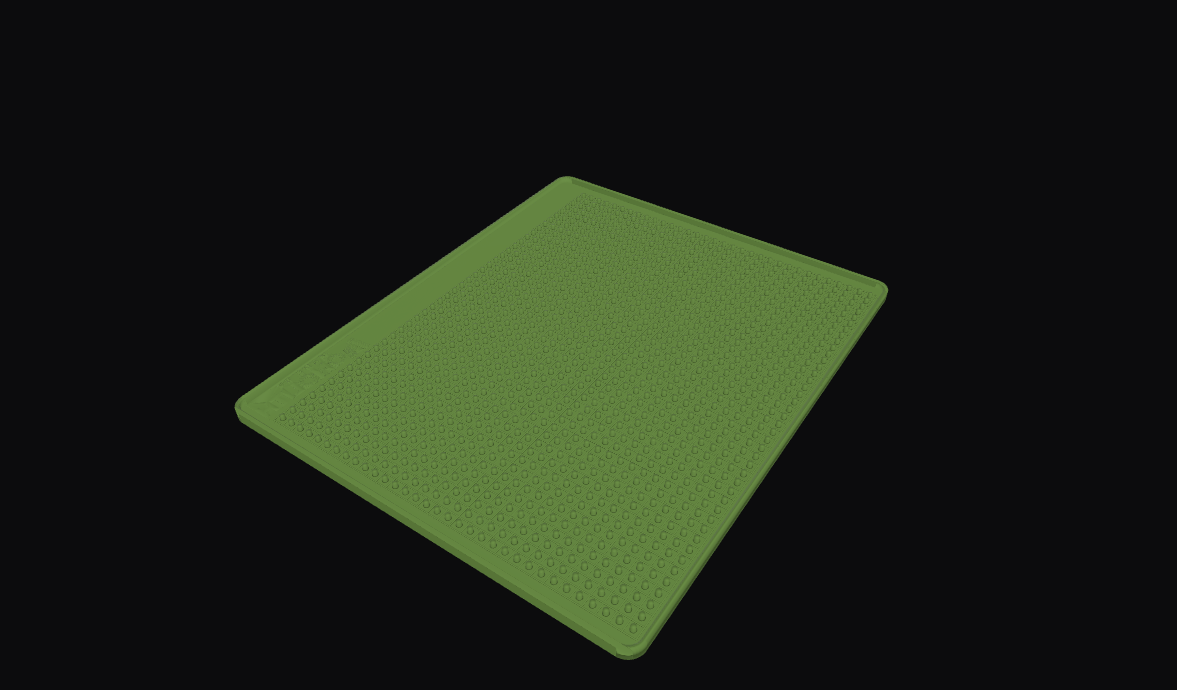
The Silicone Moulds for UV Printers tool starts with the bed itself. It generates a 3D-printable master for a perforated silicone mat that covers the whole print area, giving you a grid of holes at a fixed spacing. Pour silicone over the master, let it self-level, then peel out the mat once it has cured, and you have a soft, grippy surface with a repeatable coordinate system built in.
On top of that sit the jigs. Every fixture has pegs on its underside that plug into the mat holes, so it clicks onto the grid and cannot wander mid-print. Move a jig two holes to the left and you have moved your artwork exactly 20mm. It is the same idea as an optical registration system, done in silicone and PLA for the price of a spool.
Grid or staggered, and a grid to line up to
The holes come in two layouts. A square grid puts every hole on a neat XY lattice, which is the easy one to think in: two holes across is 20mm, straight down as well as across. A staggered layout offsets alternate rows by half a step, which packs the holes tighter and matches the pattern a lot of ready-made peg mats use, so existing habits and fixtures carry over.

Between the holes the tool indents a light alignment grid you can line work up against by eye without reaching for a ruler: fine cell lines on the square layout, and small + marks on the staggered one. It can be raised or recessed, or turned off entirely.

The fixtures
There is a jig for most of what you will actually print. An edge fence and a corner square for squaring up flat items. A V-block and a round cradle that self-centre bottles, tumblers and dowels. A pen holder, a ball holder and a T push-block. A box and card holder that sizes itself to your object. And, because someone asked, a jig that holds a disassembled minifigure flat. Each one prints support-free, with the height engraved on top so you never guess which jig is which.

Small touches matter on a fixture. The square jigs carry a relief hole in the inside corner, because a 3D-printed inner corner is never perfectly sharp and a slightly-swollen part corner needs somewhere to go. Get that wrong and your 'square' item sits a fraction proud on one edge, which the printer reads as the high point.

Built for the E1 and the Omni, and the next one
Pick your bed from the presets - eufyMake E1, E1 mini, or the xTool O1 Omni's 330 by 420mm area - or set a custom size for any flatbed. The mat and jigs rebuild around whatever you give it, so a UV printer that is not out yet is already supported: type in its print area and go.

Everything comes out as a ready-to-print STL, with STEP for CAD and top-down SVG and DXF if you would rather cut the fixtures on a laser or CNC. It all runs in the browser. No sign-up, no CAD, no watermark.
Bigger bed than your 3D printer? Split it
A full E1 or Omni bed is wider than most desktop 3D printers can manage in one go, so the master can be split into tiles that each fit your printer and key together into one mat. The seams carry interlocking castellated tabs so the pieces self-align and glue up square, and the hole grid runs continuously across the joins - a jig still plugs in exactly where it should, even where it straddles a seam. Set how many columns and rows you want and the tool works out the rest.

Does the Omni's camera make jigs pointless?
xTool makes a fair bit of the O1 Omni's Pixel-Scan vision, which finds an object on the bed and places the artwork to within about 0.2mm for a 'Drop and Print' workflow. It is genuinely clever, and for a one-off it can save you a jig. Batch work is a different story. If you are running forty of the same keyring, you want them landing in the same forty spots, square and flat, without re-scanning each one. That is fixturing, and it is exactly what the mat and jigs are for.

What it means for you
If you own a eufyMake E1 or E1 mini, or you have an O1 Omni on pre-order, this replaces a folder full of bespoke jig STLs with one tool. Print the mat once, then generate whatever fixture the next job needs. If you run a small print business, the repeatable grid is the whole point: consistent placement is what keeps a batch looking like a product rather than a craft-fair table. And if you are on a UV printer we have never heard of, the custom bed size means it probably still works.
The Silicone Moulds for UV Printers tool is free and live now. Print a mat, hold something still, and stop nudging tiny objects around a glass bed with a fingernail.
Sources
Making something of your own?
Tell us the brief →